Continuing on my slow and steady quest to have an organized networking closet, I recently finished wiring up my patch panel on my 6U “wall-mount” networking rack that’s sitting on top of a pair of IKEA LACK side tables in my office closet. (I used the Cable Matters 1U Cat6 keystone patch panel, which can be found here on Amazon). Previously, I just had all of my apartment’s ethernet cables somehow routed into the closet and terminated at the front of my network switch. It didn’t take long – probably only a few minutes of browsing r/homelab until I realized that this was not nearly the most beautiful way to organize my networking closet. So I set forth on the journey to use a patch panel…
To change from direct ethernet cables to a patch panel, I needed to get:
- Several keystone connectors. The patch panel I got is a “keystone patch panel” which requires ethernet cables to be terminated with a keystone jack before being inserted into the patch panel. (I got these “slim” Cable Matters ones)
- Several short ethernet cables which I could use to connect the patch panel to my switch. Sure, I could manually create 16 short cables out of a longer cable, but that sounds like a lot of work. (I ended up buying 4 5-packs of Cable Matters CAT6 cable which can be found on Amazon here)
- Some way to lengthen my existing ethernet cables without replacing the entire cable. For example, the cable which goes to my desk is the perfect length to reach the front of the switch – but too short to reacharound to the back of the patch panel. Instead of replacing the entire cable, I’d like an easy way to join two cables together. (I ended up getting some Cable Matters “keystone couplers” which can be found here on Amazon)
In all, re-routing the cables didn’t end up being that much work. Using the keystone couplers to lengthen cables was easy. But I’m still not very good at the process of keystone-terminating ethernet cables.. each new termination with its process of stripping and untwisting and punching down took 30 minutes. The whole process took the better part of two days. Despite not testing my cables in the process, I managed to somehow crank out a 100% success rate.
Unfortunately, two of my ethernet cables were special “slim” cables which I did not want to strip and attempt to wire into a keystone. Luckily, the keystone couplers I purchased also functioned as a poor-man’s keystone jack, so I just used those for two cables.
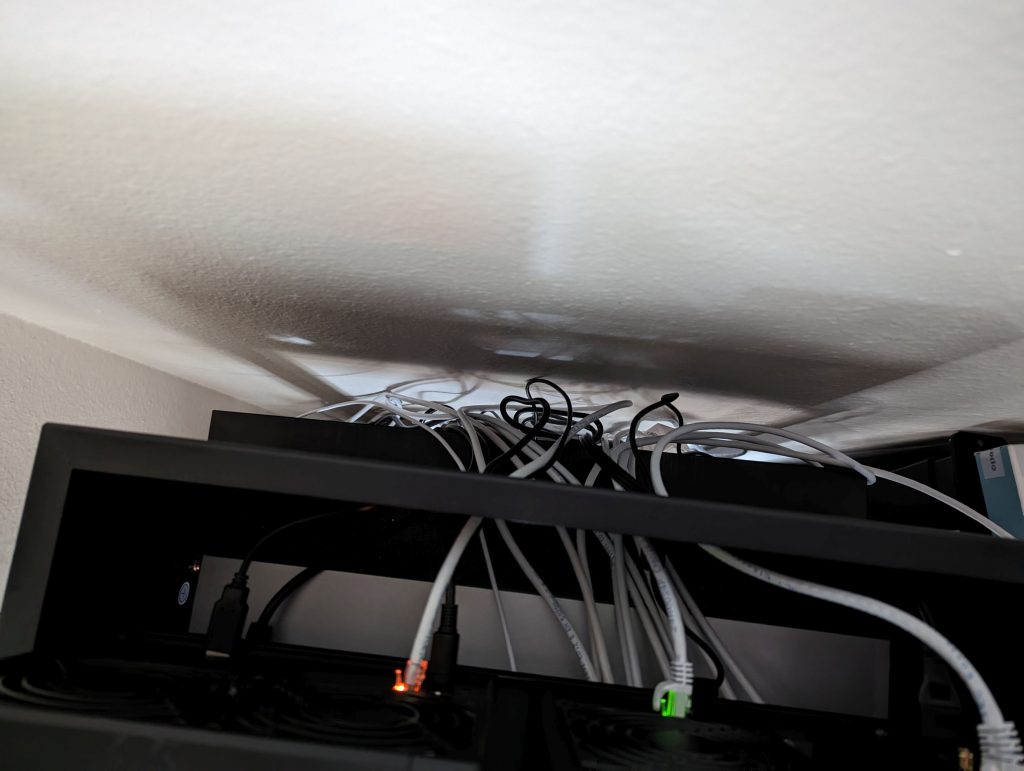
After trying to plan in advance and pre-label my patch panel, I was able to connect the 16 keystoned connectors into the rear of the patch panel. I’m not sure if I did it entirely correctly because it still looks a little messy back there – but I did it. I was finally ready to make my patch panel look like all the beautiful r/homelab posts. I used 1 foot ethernet cables to connect the patch panel to my switch. This took some re-working of my already labeled patch panel to get the aesthetics just right. The POE ports on my switch are on the left, so I needed to make sure that all PoE devices were terminated on the left side of the patch panel to avoid crossing patch panels.
In all, the rack now looks pretty neat… but there are still things I’d like to improve. For example, the 1 foot patch cables do seem a little too long for the switch ports which are directly below the patch panel. Additionally, this doesn’t seem to actually offer much reparability benefits. For example, if I needed to introduce a new device to my home network, I would need to introduce two new cables instead of just one.. and if I wanted to maintain grouping on the patch panel (living room ports, PoE ports, etc), then I might have to shift over all the patch panel ports to make room. Indeed, the patch panel seems optimized for frequently changing network equipment while the actual ethernet runs remain unchanged – maybe useful in datacenters, but not so much homelabs.
But overall, I’m now proud to show off my network rack and I had fun tweaking. Now all I need is a rackmount UPS, an air conditioning unit dedicated to my networking closet, and to switch my 3 tower servers to rackmount servers. Oh, I also need to upgrade my network to 10 Gig. The fun never ends…